On the Competencies screen, you can find competencies, which are used to measure how well trainees acquire skills related to a course or test questions. It enables an administrator to build and maintain competencies by setting parameters such as the title, title, and mastery calculation technique. Competencies are shared across all course lectures to provide consistent skill assessment. As an admin, you can use competencies to evaluate how well a trainee has mastered a skill related to the course or exam questions.
To use this screen efficiently, do as follows:
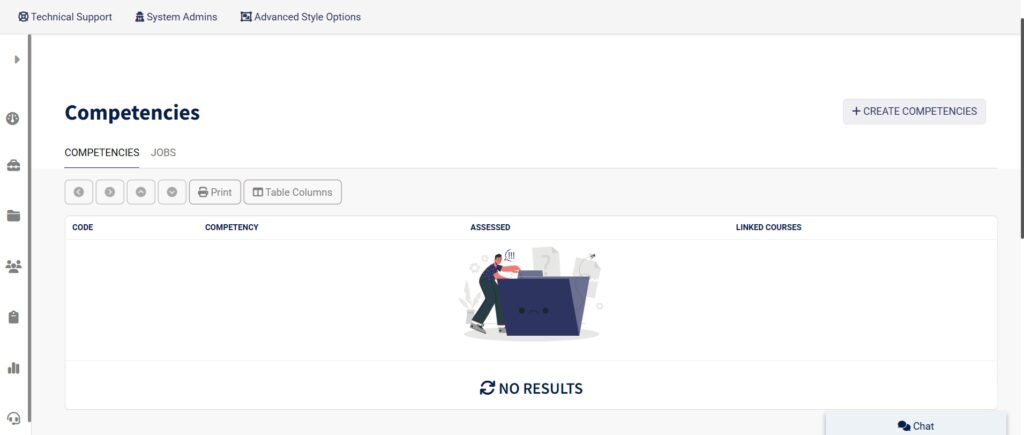
- Click the Competency tab from the sidebar and the Competencies table shows.
- To open the competency creation form, click Create Competencies.
- In the Title area, type the competency name in the preferred language.
- In the Title field, type the competency name in English and Arabic.
- Select a method from the Mastery Calculation Method selection (for example, Average, Most Recent, or Best Percentage).
- Click the plus icon to add more competency information (Optional).
- Click Save to save the new skill.

- The competency creation box will open when you click + Create Competencies.
- Enter the Arabic name of the competency in the Title field.
- Enter the name of the competency in English and Arabic in the Title area.
- To choose how competency mastery should be determined, click the dropdown menu under Mastery Calculation Method. Average, Number of Times, Most Recent, and Best Percentage are among the available options.
- To store your competency, click the save button (or the corresponding action button) after completing the necessary information.
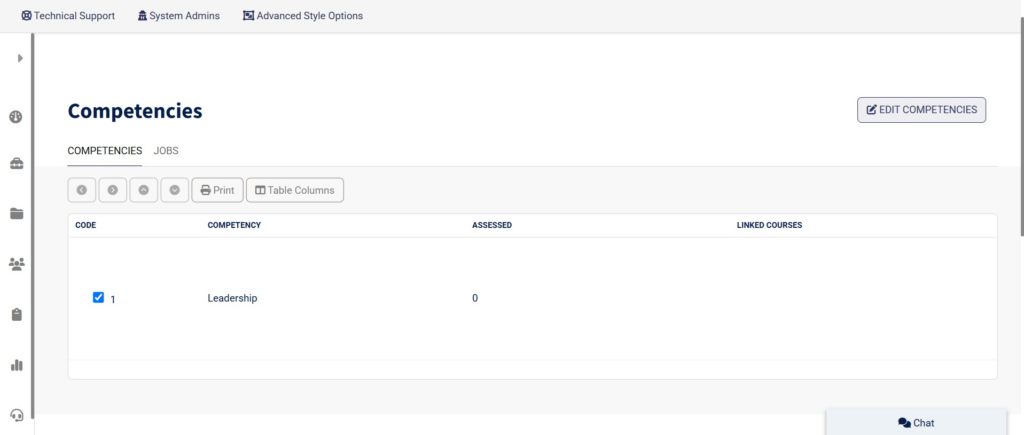
- To pick a competency, click the checkbox next to it.
- To change the chosen competency, click Edit Competencies
- Use the Print button to print the list of competencies if needed.
- To alter the columns that are shown in the competency list, click Table Columns.
- Once your changes are complete, save them by clicking the same Edit Competencies button (or the corresponding save button).

- Enter the Arabic job title in the Title area.
- Enter the job title in English and Arabic in the Title section.
- Give a brief explanation of the job role in the Description field.
- To save the job, click the Save button (or the corresponding action button).
- If necessary, download job data using the Export option.
- To alter the columns that are shown in the job list, click Table Columns.
- Enter the Arabic job title in the Title area.
- Enter the job title in English and Arabic in the Title section.
- Give a brief explanation of the job role in the Description field.
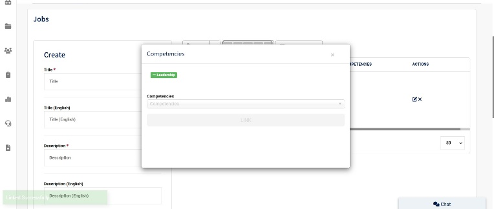
- The linking window will pop up when you click on the Competencies section.
- From the Competencies dropdown list, pick a competency.
- To link the chosen competency to the position, click the LINK button.
- A confirmation message will show up after the link has been successfully established.
- To save the work and associated competencies, click the Save button (or the corresponding action button).


